Map management
The standard installation of IRIS Focus includes a complete world map that is suitable for most scenarios.
The map consists of separate layers that are further separated into base layers and non-base layers. One base layer and one non-base layer are always rendered on the screen. Typically, base maps contain the underlying terrain and the non-base layers contain additional details that can be displayed on top of the base map.
Map data is served to the IRIS Focus web interface by GeoServer map server using Web Map Service (WMS) protocol. To improve performance, instead of calling for new map data each time the map view changes, the maps are cached in pre-rendered PNG tiles using GeoWebCache.
Administrators can add custom map layers or edit existing layers.
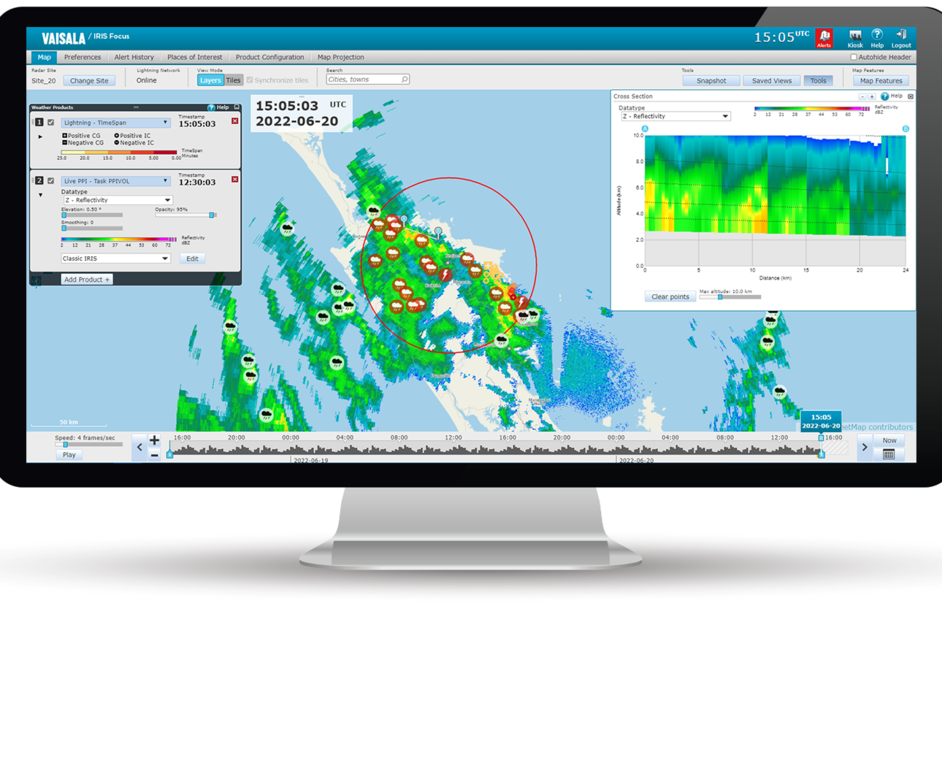
IRIS Focus users can select which map layers they see in the Map view, and edit the view by selecting Map Features.
Adding and editing map layers
- Log in to the IRIS Focus web application as administrator.
-
Select .
The Map Layers view lists the available map data layers. Each layer has the following properties:
- Base layer - Enable to set this layer as a base layer
- Title - Layer name
- Type - WMS layers
- URL - Address for the WMS server
- Layer - Title of the layer on the server
-
To add a new layer, select Add New Layer.
When you are adding a WMS layer from an external source, note the following:
- Get the URL from the layer provider.
- You can set any values for Realtime offset and Refresh rate, but if the exact value is not available from the layer provider, the system will give you a time closest what you defined.
- In order for the system to query for the cursor tool data, check the Usable in map cursor tool checkbox.
- Layer style defines the availability of the color legend in the map view. IRIS Focus supports
both
.sldfiles and WMS methods of providing the legend. - If you do not want the layer to be visible to users, after adding a layer, go to the Map View Contexts screen, and uncheck the Visibility checkbox.
- The user can see the added external WMS layer in the Add Product drop-down list of the Weather Products pane.
-
To edit a layer, select Edit for that layer and make your changes.
The Map Layer Information window for that layer opens.
- Select Save.
Map View Context
The Map View Contexts view lists all defined maps.
Only the default TheMap context is available. Perform all map layer customization in the default TheMap context. Do not create new map contexts for custom map layers.
To edit TheMap, select Edit.
-
To make a map layer available for users in the map view, select the Selected checkbox in the Edit Map View Contexts.
-
To set the order in which multiple map layers are rendered on screen, change the Z level of map layers.
The lowest number is rendered first, and higher numbers rendered on top of that.

Adding external map layers
You can import an external map layer, such as a shapefile, into Geoserver for IRIS Focus to display on the map.
For information on adding WMS layers from external sources, see Adding and editing map layers.
-
Make sure you have a shapefile (.shp) available.
For an example resource with shapefiles available for download, see the WGS84 projection examples at:
-
Use an
scpclient or similar application to copy the shapefile to a directory on the IRIS Focus server such as /srv/. -
Login to the server as
radarop. - Open the file: /etc/vaisala/radarsw/configuration/gis-override.ini
-
Copy the
geoserver.admin.password.This password is autogenerated during installation.
-
Using a browser, login to IRIS Focus Geoserver at:
http://<IRIS_Focus_server_name>:24180/geoserver/web/
Login using the username admin and the password you copied earlier.

Depending on your own network configuration you may need to do this at the server, over a remote console, or by using your local browser.
-
Add a new Store:
-
Publish the layer:
- Check that the New Layer menu opens.
- If the New Layer menu does not open automatically, select .
- In the Add layer from list, find the new layer.
- Select Publish.
The Edit Layer menu shows the new layer name. For example,
vaisala:coastlines. -
In the Edit Layer menu:
-
Select Layer Groups.
- Login to IRIS Focus as a user.
- To confirm that the new layer is visible, select .